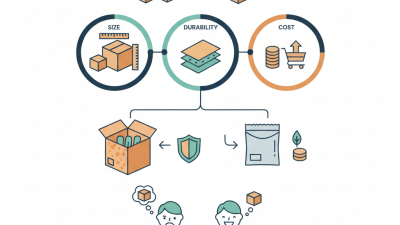
Choosing the right shipping box sizes starts with the product, not the shelf of available cartons. Measure the item at its widest, longest, and tallest points, including handles or other projections. Then allow room for protective material without letting the product slide around. A ceramic mug, for example, needs cushioning on every side; a folded T-shirt usually needs much less. Small details matter.
Engineering-design scholar Henry Petroski is associated with the phrase, “Form follows failure.” It is a useful reminder that packaging choices should be tested, not guessed. A box that looks right can still crush under stacking, waste space in transit, or leave an item rattling inside. This guide explains how to compare internal dimensions, product measurements, cushioning needs, and shipping costs. It also considers when a standard box works and when a custom size may be worth evaluating. Measure twice.
There is no single best size for every product or shipping route. The right fit depends on what is being packed, how it is protected, and how it will be handled. A practical test can reveal what calculations miss: place the packed item in the box, gently move it, and check for shifting or pressure on the contents. I would not treat one successful test as proof for every shipment. Products and packing methods vary. Use these steps as a starting point, then review results as your packaging needs change.
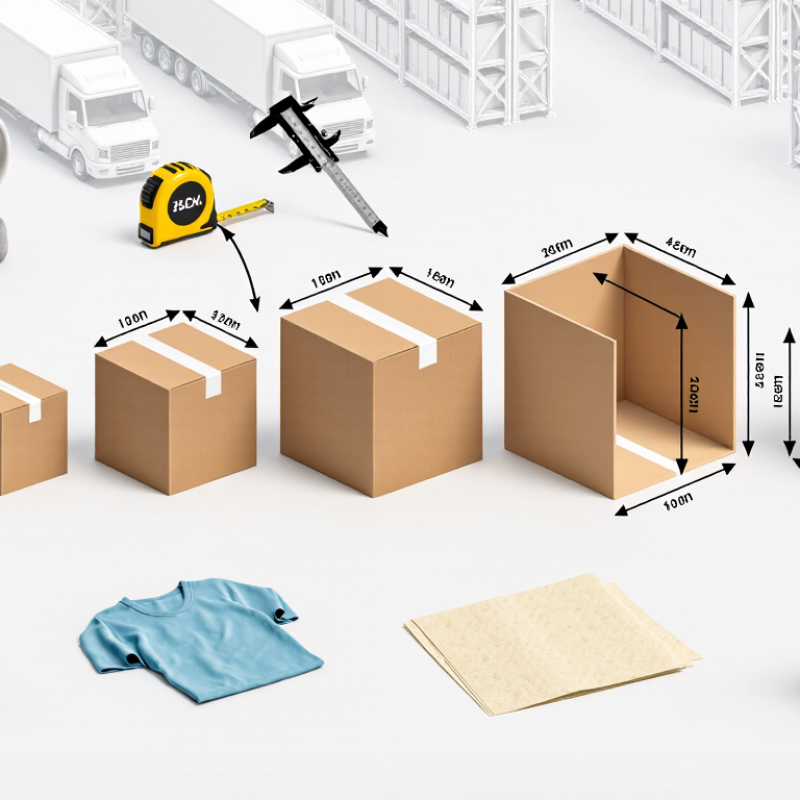
Box size sounds simple, but shipping terms can hide useful distinctions. Length, width, and height usually describe the box’s inside dimensions, measured in that order. Measure usable interior space, not just the outside panels. That distinction matters. Corrugated board adds thickness, and outside dimensions affect how a parcel fits into handling equipment. A 12-by-10-by-8-inch box may not provide that much usable room inside.
Dimensional weight is a shipment’s calculated weight based on its outside volume, not just the number on a scale. Carriers set their own formulas and rules, so check the current method before choosing a carton. A larger box can cost more even when the item is light. Leave enough room for cushioning, but avoid a wide empty gap where a product can slide. Pack a sample and gently tilt it. Movement means the fit needs work. A box can look right on a screen and still fail the shake test; online measurements are easy to misread.
There is also a material angle. The U.S. EPA’s 2018 materials data reported 33.3 million tons of corrugated boxes generated and 32.1 million tons recycled. Choosing a close-fitting box does not guarantee less waste, but it can reduce unnecessary filler and excess carton material. Still, a tight fit is not always safer. Fragile items need protective space, and that space should be included when checking the final outside dimensions.
Measure the product at its widest, longest, and tallest points before selecting a carton. Include protruding details: a mug’s handle, a shoe’s heel, or a cable’s connectors. For soft goods, measure the item in its intended packed shape. A folded sweater’s thickness matters as much as its length.
Add room for protective material on every side, then test the fit with the actual cushioning. The item should not press against the walls or slide freely. This step is easy to rush. I’d recheck irregular products, because one missed corner can change the box size. Record internal dimensions for fit, then check external dimensions for shipping quotes. Carrier dimensional-weight rules differ, so confirm the carrier’s current measurement method.
Right-sizing matters at scale. The 2023 Parcel Shipping Index reported 161 billion parcels worldwide in 2022, underscoring how often small sizing decisions recur across shipping operations. Keep a simple measurement sheet for repeat products, noting whether dimensions describe the bare item or packed item. That distinction is easy to forget. It can also prevent a box that fits on paper but fails during packing.
Measure the item first. Record its longest, widest, and tallest points, including handles or uneven edges. Then add cushioning space on every side, not just above and below. For example, a 10-by-6-by-4-inch item with 1.5 inches of cushioning on each side needs about 13-by-9-by-7 inches of internal box space. These are internal dimensions; exterior dimensions can be larger because of the box walls.
Choose cushioning for the object, not by habit. A rigid product may need a snug wrap, while a fragile glass piece needs room for shock-absorbing material and separation from the walls. Press gently on the packed item: it should not shift, but the cushioning should not be crushed flat. A quick shake test can reveal movement. It is useful, but not a substitute for proper transit testing.
Oversizing has a material cost. The U.S. Environmental Protection Agency’s 2018 Advancing Sustainable Materials Management report estimated that containers and packaging accounted for 82.2 million tons, or 28.1% of municipal solid waste generation. That figure covers packaging broadly, not shipping boxes alone, but it shows why avoidable material matters. Still, the smallest box is not always the right one. Cushioning thickness varies, and a tidy calculation can miss awkward corners; test a packed sample before settling on a size.
Compare the product’s volume with the additional internal space needed for protective cushioning.
Example: a 30 × 20 × 10 cm product has a volume of 6 L. With uniform cushioning thickness on every side, add twice the cushioning thickness to each product dimension to estimate the required internal box dimensions. The additional space shown is the internal box volume minus the product volume; allow for the item’s shape and packing method when choosing a box.
How to Choose the Right Shipping Box Sizes
Matching Box Sizes to Shipping Requirements
Choose a box around the item’s measured dimensions, not its product-page size. Leave room for cushioning, but avoid wide gaps that let goods slide into a corner. A ceramic mug may need a snug carton plus space for a protective wrap; a flat book usually needs less depth. Measure length, width, and height after packing, since padding changes the fit. Carriers may price parcels by dimensional weight, so an oversized box can cost more even when the contents are light. I still misjudge tall items.
The U.S. Environmental Protection Agency reported that containers and packaging made up 28.1% of U.S. municipal solid waste generation in 2018. That figure covers many packaging types, not shipping boxes alone, but it shows why unnecessary material matters. Matching box sizes to product groups can reduce excess cardboard and void fill. It can also make storage and packing more consistent. Still, one size rarely fits everything.
Tips: Keep a small range of box sizes and test each with the actual product and cushioning. Shake the closed carton gently; if the item shifts, adjust the fit. Check carrier dimensional-weight rules before choosing a final box, because calculation methods can differ. Record the packed dimensions, not just the empty carton’s listed size.
| Shipping need | Suggested box size (inside dimensions, L × W × H) |
Suitable items | Packing guidance | Shipping considerations |
|---|---|---|---|---|
| Small, compact parcels | 6 × 4 × 4 in (15 × 10 × 10 cm) |
Small accessories, craft supplies, compact parts | Choose items that leave room for a thin protective layer. Avoid forcing contents into the box. | A close fit can reduce unused space; check the carrier’s minimum parcel and label requirements. |
| Lightweight apparel or soft goods | 10 × 8 × 4 in (25 × 20 × 10 cm) |
Folded clothing, fabric items, small non-fragile goods | Use a clean inner bag when appropriate; keep the parcel compact without compressing delicate items. | If the contents are flexible, compare a box with a suitable mailer for protection and postage. |
| Small fragile products | 12 × 10 × 8 in (30 × 25 × 20 cm) |
Ceramic pieces, small electronics, glass containers | Allow roughly 2 in (5 cm) of cushioning around fragile items where practical; prevent movement inside the box. | Use a sturdy, undamaged box and test that the contents remain protected when gently shaken. |
| Medium-sized mixed orders | 16 × 12 × 10 in (41 × 30 × 25 cm) |
Several household items, packaged goods, books with other products | Separate items that could scratch or crush one another; fill empty spaces with suitable packing material. | Check the packed parcel’s weight and outer dimensions, not just the box’s stated inside dimensions. |
| Bulky but relatively lightweight goods | 20 × 16 × 12 in (51 × 41 × 30 cm) |
Pillows, lightweight equipment, larger soft goods | Use a box that supports the contents without excessive empty space; reinforce seams if needed. | Large parcels may be priced by dimensional weight. Check the carrier’s current formula and size limits. |
| Long or narrow products | 24 × 6 × 6 in (61 × 15 × 15 cm) |
Rolled posters, long components, narrow tools | Protect both ends and prevent the item from sliding lengthwise; use a tube only when suitable for the product. | Measure the longest outer dimension carefully, as length-based surcharges or limits can apply. |
| Heavy or dense products | Choose the smallest practical box that fits the product and protection | Dense components, books, compact hardware | Use a box rated for the packed load, secure the bottom, and distribute weight evenly. | Carrier weight limits vary. Weigh the sealed parcel and check the applicable service rules before dispatch. |
Box dimensions above are approximate inside dimensions. Allow extra space for cushioning, and confirm the final parcel’s outside dimensions, weight, and carrier requirements before shipping.
How to Choose the Right Shipping Box Sizes
Checking Weight, Fit, and Carrier Restrictions
Choosing a shipping box starts with the item, not the empty space on your shelf. Measure its longest sides and allow room for cushioning. A snug fit helps limit shifting, but tight corners can leave fragile items exposed. I learned this after a ceramic mug arrived with a chipped handle, despite the box looking sturdy. The padding had compressed against one side. A little extra space would have helped, but too much space can also cause trouble.
Tips: Pack the item as it will travel, then weigh the full parcel. Check the box’s outside dimensions, since carriers usually measure the package itself. Compare both measurements and weight with the carrier’s current limits. Rules vary, and oversized parcels may cost more.
Try a gentle shake before sealing the box. If the contents slide, add cushioning and test again. If the parcel feels heavy, check the box’s strength and any weight limit printed on it. I still find box selection a bit of trial and error; dimensions alone do not tell the whole story. Leave room for padding without forcing the flaps shut, and verify restrictions before buying a large batch of boxes.